I spend most of my time working on Asterisk based phone systems. The majority of the installs that I work on are based on the FreePBX distro which is quite user friendly but limited in ability to change very low level settings. When building out my own personal system, I opted to use the FreePBX distro but also wanted to add fun customization to the system. Below is an outline of how I setup FreePBX to playback a custom Star Wars Theme cadence (thanks to O’Reilly eBook – Asterisk: The Definitive Guide for the cadence structure).
DO NOT DO THIS ON A PRODUCTION SYSTEM
- Ring cadences for Asterisk are stored in a core Asterisk file /etc/asterisk/indications.conf. This file is not directly editable as FreePBX overwrites this file with data stored in a MySQL database.
- Personally, my MySQL CLI skills are not up to scratch so I cheated and installed phpMyAdmin. If you have installed FreePBX straight from the distro then you are running Centos; the command to install phpMyAdmin is:
yum install phpmyadmin - Log into phpMyAdmin
http://{PBX Server Address}/phpmyadmin - You should have a database called “asterisk” available to browse, drill down into that database.
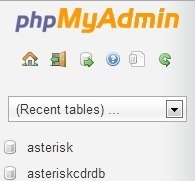
- Next find the table within the database named: indications_zonelist
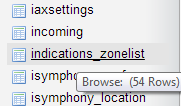
- In the table that opens, copy the country zone that you are currently in, we only want to change the ring cadence

- This should open an editor, see changes below. Press “Go” when done. Don’t worry about the blob right now.
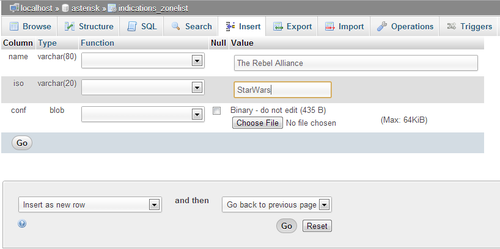
- You should be back at the table now, download the blob for “The Rebel Alliance” zone and open it in a text editor.

- Find the ring section of the file and delete both of the cadences following “ring =” and replace them with:
ring = 262/400,392/500,0/100,349/400,330/400,294/400,524/400,392/500,0/100,349/400,330/400,294/400,524/400,392/500,0/100,349/400,330/400,349/400,294/500,0/2000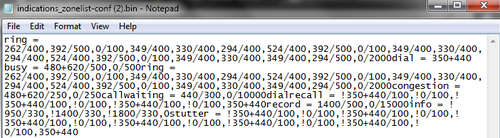
- Save the edited file and upload the blob back to “The Rebel Alliance” indication zone. Click “Go” to upload and save.

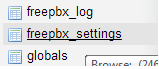
- Next we need to locate an Asterisk database table “freepbx_settings”
- Find and edit an entry called “TONEZONE”

- Within “TONEZONE” find the “Options” line. Copy and paste the entry into a text editor.
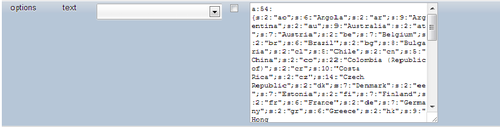
- The syntax is as follows:
The first line is the total number of items in the list, increment this number by 1 (in my case I went from 53 to 54).The entry syntax is “s:{total number of characters in the short description}:”{short description}”;s:{total number of characters in the long description}:”{long description}”; If you used the naming convention above then your entry will look like below:s:8:”StarWars”;s:18:”The Rebel Alliance”; - Paste the line into a position that reflects its position alphabetically. Press “Go” to save.
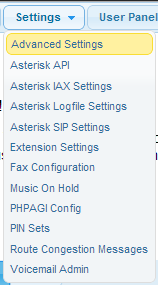
- Head back over to your FreePBX web GUI and head to the advanced settings page.
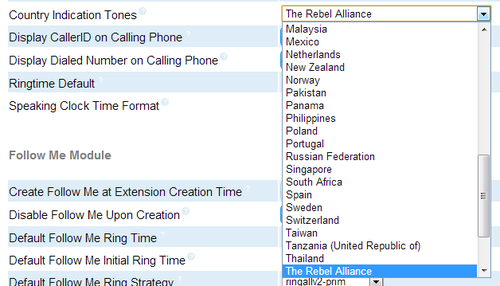
- Scroll down and find “Country Indication Tones” and change it to your newly created group, save setting, and reload.
You should now be able to test calling between 2 SIP phones with your new ring cadence.
Enjoy!